React Document

Multi-Language Support
Considering that there will be users from multiple different countries, you might need to add the support for multiple languages.To help you with that, we have made the sidebar compatible with the multiple language functionality.
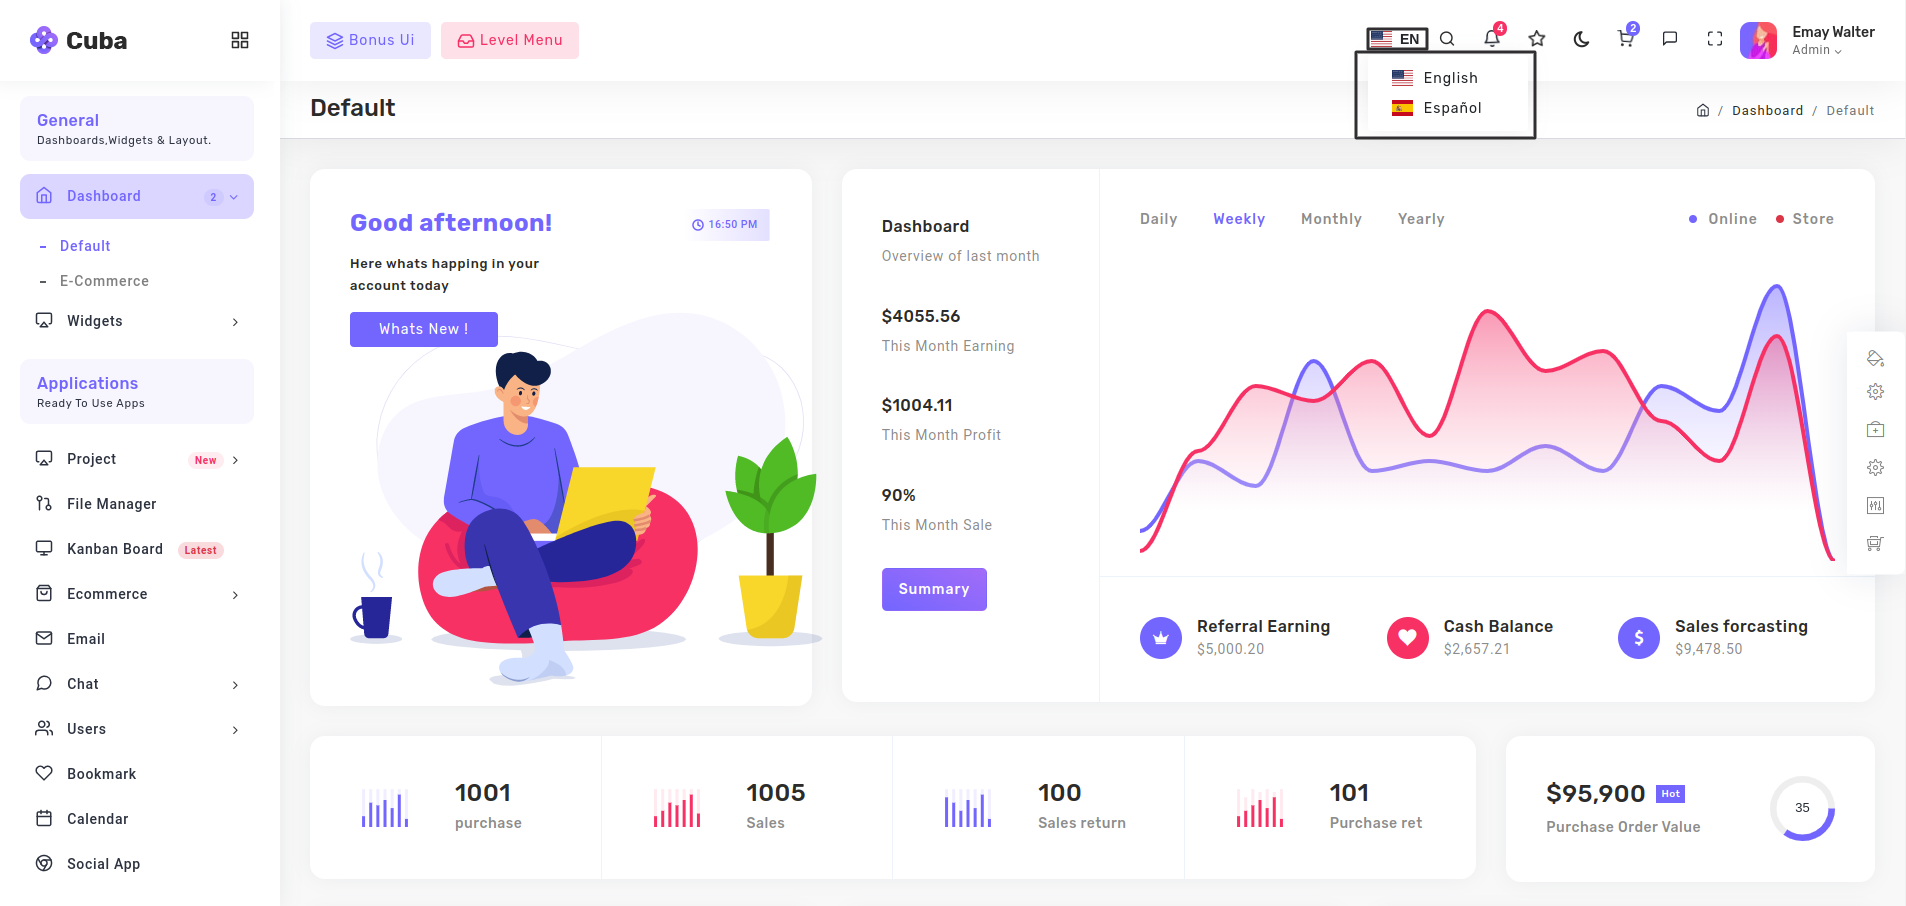
You can find the dropdown that changes the language in the header.
How does multi-language functionality works?
react-i18next to implement the functionality fo multi-language, you can install it by running the following command in the terminal. We have used the package react-i18next to implement the functionality fo multi-language, you can install it by running the following command in the terminal.
npm install --save react-i18nextreact-i18next package configuration and implementation in the project:
After you have finished installing react-i18next package in your project, follow the below given steps to add the multi-language support.
react-i18next. Now import this package at the top of the file and add the json related to our required languages. Refer the below given code to get more information about it. Create one file inside the src folder, this file will contain the package react-i18next. Now import this package at the top of the file and add the json related to our required languages. Refer the below given code to get more information about it.
i18n.jsx as the file name. We recommend that you use the same naming convention.Tip: We are using the i18n.jsx as the file name. We recommend that you use the same naming convention.
Create a JSON in that file, for providing the corresponding translated word for the english words. Now Create a JSON in that file, for providing the corresponding translated word for the english words.
Import the translation files in index.js and store them in the messages object as shown below.Import the translation files in index.js and store them in the messages object as shown below.
Steps to change the Languages:
react-i18next package. Create a file Language.js and import the useTranslation from react-i18next package.
In the Language file we are passing the params as same as we have mention in the JSON file. To get more idea about this refer the below code.
react-i18nextNow, where we need to use the changed language, again we need to import the useTranslation from react-i18next
Now we need to wrap the content to get reflect of languages. Below are the given example.
import i18n from 'i18next';
import LanguageDetector from 'i18next-browser-languagedetector';
import { initReactI18next } from 'react-i18next';i18n
.use(LanguageDetector)
.use(initReactI18next)
.init({
// we init with resources
resources: {
en: {
translations: {
'General': 'General',
'Dashboards,Widgets': 'Dashboards,Widgets',
'Dashboard': 'Dashboard',
'Default': 'Default',
}
},
es: {
translations: {
'General': 'General',
'Dashboards,Widgets': 'Cuadros de mando, widgets',
'Dashboard': 'Tablero',
'Default': 'Defecto',
}
},
cn: {
translations: {
'General': '一般',
'Dashboards': '仪表板',
'Widgets':'小部件',
'Dashboard': '仪表板',
}
},
},
fallbackLng: 'en',
debug: false,
// have a common namespace used around the full app
ns: ['translations'],
defaultNS: 'translations',
keySeparator: false, // we use content as keys
interpolation: {
escapeValue: false
}
});import App from './App';
import React from 'react';
import ReactDOM from 'react-dom';
import './i18n';
ReactDOM.render(
<App />,
document.getElementById('root')
);
reportWebVitals();import { useTranslation } from 'react-i18next';const Language=()=>{
const { i18n } = useTranslation();
const changeLanguage = (lng) => {
i18n.changeLanguage(lng);
};
return(
<ul>
<li onClick= {() => changeLanguage('en')} >
<a href="#javascript">
<i className="flag-icon flag-icon-is"></i> English
</a>
</li>
<li onClick:{() => changeLanguage('es') }>
<a href="#javascript">
<i className="flag-icon flag-icon-um"></i> Spanish
</a>
</li>
</ul>
)
}
export default Languageimport { useTranslation } from 'react-i18next';import React, { Fragment, useState } from 'react';
import { useTranslation } from 'react-i18next';
const SidebarMenuItems = () => {
const { t } = useTranslation();
return(
<ul>
<li>{t('Dashboard')}</li>
<li>{t('Ecommerce')}</li>
</ul>
)
}
export default SidebarMenuItems;Tip: For more information on react-i18next you can visit the official documentation on react-i18next